

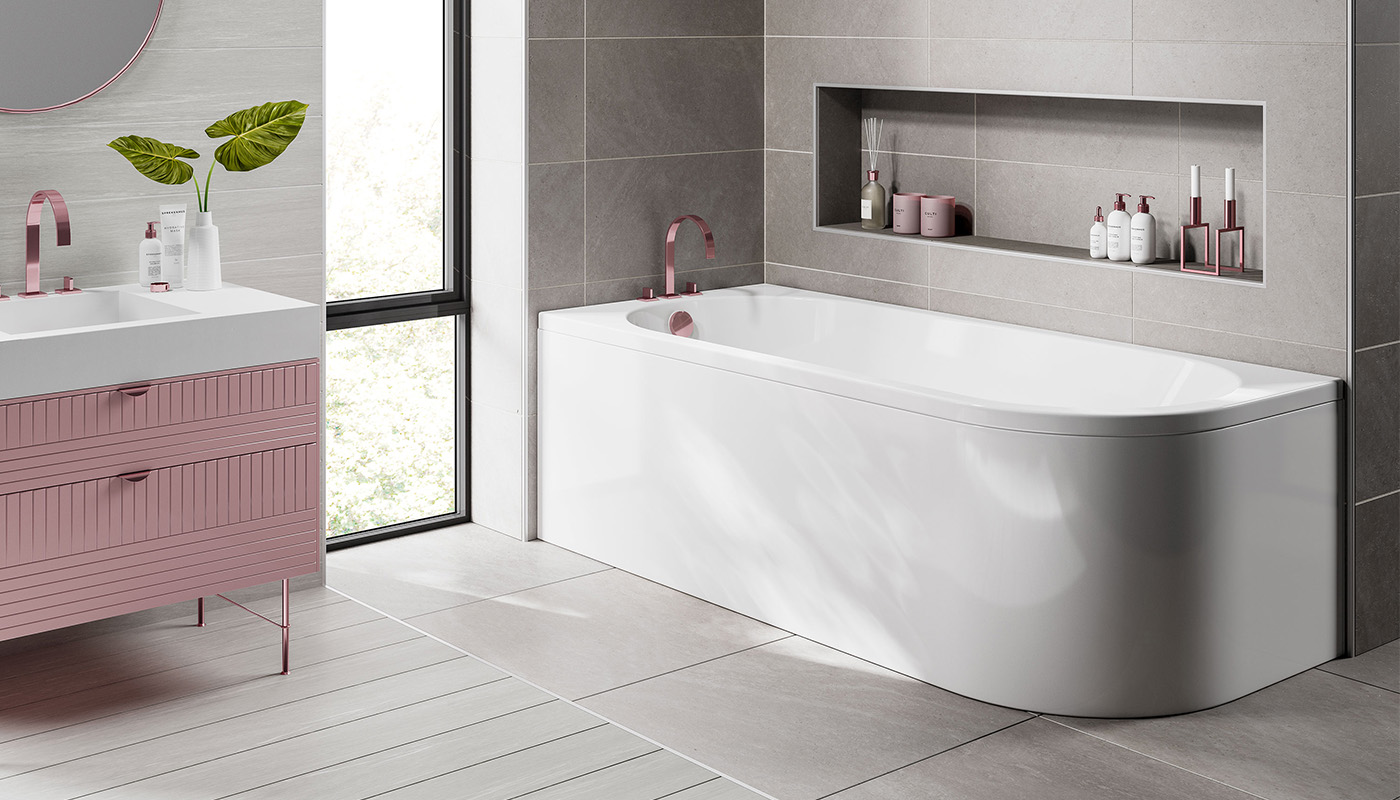
Refreshing your bathroom doesn’t always mean ripping everything out and starting again. In some homes, the tiles, flooring and bath might still be in good condition, but smaller details are making the whole room feel dated. A cracked bath panel, discoloured sealant or loose fitting can draw the eye straight away. Small bathroom updates can make such a big difference. Installing a new mirror, replacing the taps, or even fitting a replacement bath panel can help the space feel more modern without the cost or disruption of a full renovation.
One question we often hear is: ‘can I replace just my bath panel’? In most cases, yes, you can. If your bath is secure, watertight, and still working well, replacing the panel can be a practical and affordable way to improve the look of your bathroom. A bath panel conceals the underside of the bath, covers pipework and helps create a neat finish. The important part is choosing the right size and style for your bath, then fitting it carefully.
Can You Replace Just the Bath Panel?
Yes, you can usually replace just the bath panel without changing the bath itself. This is a good option when the bath is still in good condition, but the existing panel is damaged, warped, loose or outdated. It might also be worth replacing the panel if you’ve recently changed your flooring, updated your tiles or refreshed other fittings, and the existing panel no longer suits the room.
Before buying a replacement, you need to consider the type of bath you have, as some require different panels than others. For instance, some baths only need a front panel, while others also need an end panel. Corner baths, P-shaped baths, L-shaped baths, or J-shaped baths may also require a specific panel designed to match their curves or angles.
What to Check Before Replacing Your Bath Panel
Before removing the old panel or ordering a new one, a few simple checks can help you avoid getting the wrong size or fitting a panel that doesn’t sit neatly.
Measure the Space
Start by measuring the area the panel needs to cover. Don’t just rely on the bath size, as the way it's been fitted can affect the final measurements. Ideally, measure the length of the bath, the height from the floor to the underside of the rim and the width of any exposed end if you also need an end panel. You should also check for boxing-in, pipework, uneven flooring or any awkward gaps that may affect the fit.
See if You Need a Front Panel, End Panel or Both
The position of your bath will determine what type of panel you need. A bath fitted between three walls will usually only need a front panel, whereas if one end is visible, you may also need an end panel. Some baths require a panel designed specifically for that bath shape, so it’s always worth checking before you buy.
Think About Access to Pipework
Bath panels are designed to conceal plumbing, but access is often still needed. Before fitting a new panel, consider how easy it will be to remove if a plumber needs to inspect waste pipes, taps, or leaks. Avoid sealing or fixing the panel too permanently that it’s difficult to remove without damage. A neat finish is important, but so is practical access.
Choose a Panel Suitable for Bathroom Conditions
Bathrooms need to handle moisture, steam and regular cleaning, so the panel you choose should be suitable for this environment. At Bathroom Supastore, our bath panels are chosen with practicality in mind, including waterproof and moisture-resistant options.
A good bath panel should be durable, easy to maintain and suited to the look of your bathroom. With a wide range of colours, textures and finishes available, you can choose something that feels like part of the room rather than an afterthought.
How to Replace a Bath Panel
Every bath and panel can vary slightly, so it’s important to follow the instructions supplied with the product. However, most replacement jobs follow the same basic process.
Step 1: Clear the Area
Before you start, remove anything around the bath, including bath mats and storage baskets. This gives you more space to work and helps prevent any damage. It’s also worth protecting the floor with an old towel or dust sheet, especially if you’re removing a damaged panel or cutting a new one nearby.
Step 2: Remove the Existing Panel
Check how the old panel has been fitted before trying to remove it. Some panels slot into place, while others may be screwed, clipped or sealed with silicone. Remove any visible screws first, then carefully cut through any silicone with a suitable blade. Try not to pull the panel away too forcefully, as this could damage nearby tiles, flooring or the bath frame.
Step 3: Inspect and Clean Under the Bath
Now that the old panel is removed, take the opportunity to check the area underneath the bath. Look for signs of leaks, damp, mould or loose fittings. If you notice a plumbing issue, fix it before installing the new panel to prevent it from getting worse over time. You can then clean away dust, old sealant and debris so the new panel has a cleaner area to sit against.
Step 4: Measure and Mark the New Panel
Measure the space again before making any cuts. This is especially important if the new panel needs to be trimmed to size. It’s always better to measure twice and mark the cutting line clearly, rather than removing too much and struggling to correct it. Place the panel on a stable surface and secure with clamps before cutting. Cut slowly and steadily to achieve a clean edge.
Step 5: Smooth the Edges
After cutting, check the edges of the panel. If needed, smooth them down with a sanding block to remove any rough areas. This helps the panel sit more neatly and gives the finished installation a much cleaner look overall.
Step 6: Test Fit Before Securing
Before fixing anything in place, test the panel's fit. Check it sits properly under the bath rim, reaches the floor and lines up with any end panel or surrounding features. If something looks uneven, it’s better to adjust it at this stage rather than after it has been secured.
Step 7: Fix the Panel in Place
Once you’re happy with the fit, secure the panel according to the manufacturer’s instructions. This might involve screws, clips or brackets. The panel should feel stable, but not forced into place. If it’s too tight, it could bow, crack or become difficult to remove later.
Step 8: Seal Where Needed
Once the panel is fitted, apply a suitable bathroom sealant where needed. This is typically around the top, bottom and side edges, where water could get behind the panel. Always allow the sealant to cure fully before using the bath or shower.
Is Replacing a Bath Panel a DIY Job?
For many homeowners, replacing a standard bath panel can be a straightforward DIY project. Particularly if you buy a panel that’s the perfect size for your bath and only needs a simple fit.
However, if cutting is required, the bath is shaped, or access around the bath is awkward, the job may be more difficult. If you’re not confident in measuring, cutting, or securing the panel, it may be worth asking a professional installer to help. The most important thing is to take your time. A bath panel might seem like a small part of the bathroom, but a neat fit can make a big difference to the final look.
Find the Right Bath Panel with Bathroom Supastore
Replacing just your bath panel can be a simple way to refresh your bathroom without taking on a full renovation project. It can conceal pipework and help the room feel more modern. At Bathroom Supastore, we offer a range of bath panels designed to combine style, durability and everyday practicality. With waterproof and moisture-resistant options, easy-to-fit designs and a variety of finishes, we can help you find a panel that suits your bath and your bathroom.
If your bath still works but the panel is letting the room down, a replacement could be the small upgrade that makes the whole space feel better. Browse our bath panels online today or get in touch with Bathroom Supastore for help choosing the right option for your home.