How to clean your shower cartridge
How to clean your shower cartridge
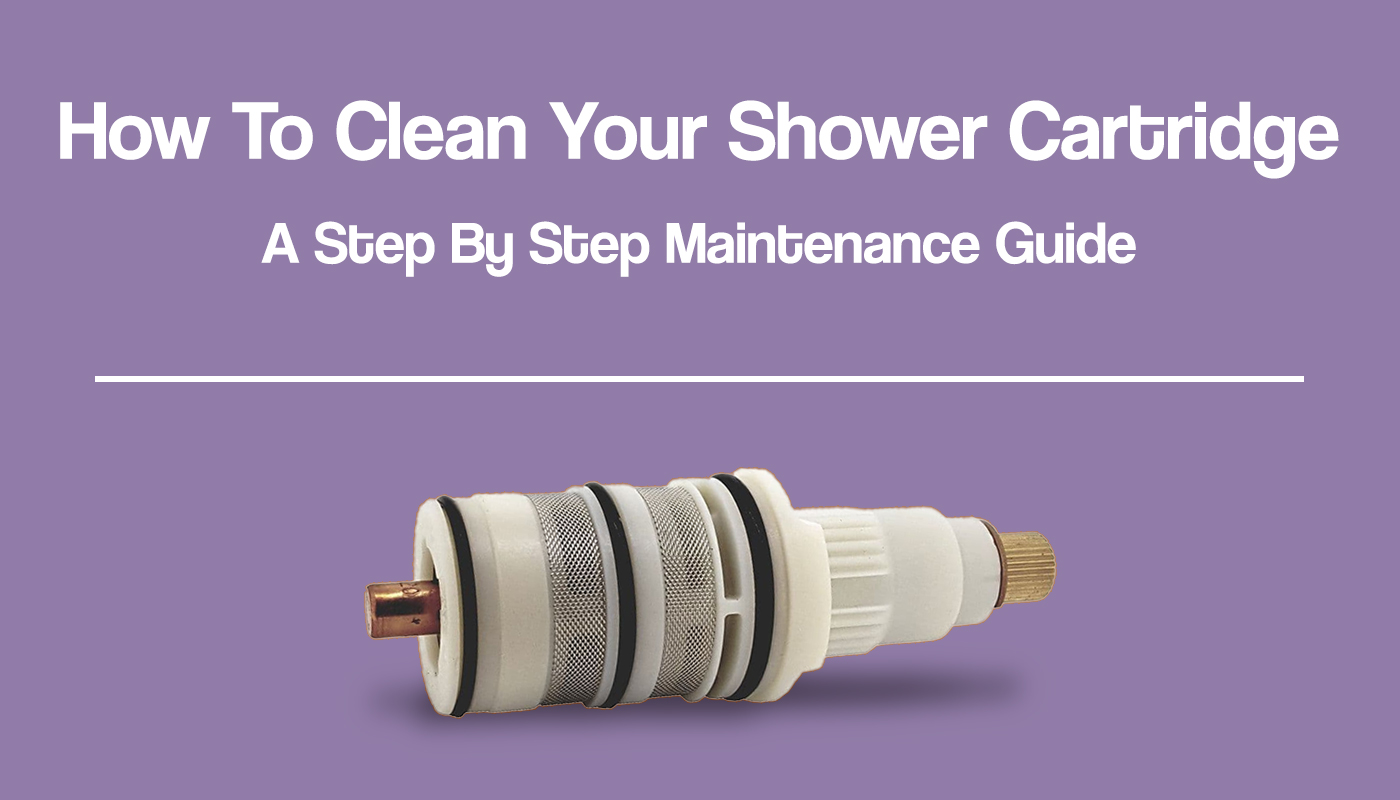
You've had your new shower fitted in your bathroom for a few months when you notice the water flow or temperature isn't working quite the same way as it was on day one…would you know what to do to fix it? In most cases, this is caused by a clogged up thermostatic cartridge that needs a quick clean.
Limescale, especially in hard water areas along with a build up of debris can be responsible for the issues.
Now, it can be different depending on the manufacturer but if you read the manual for your shower it will advise you to clean the cartridge often. Have you ever done yours? No, me neither! However, the cartridge in your shower valve is classed as a moving part so won't be included by any lengthy guarantee on the shower unit itself. In many cases the warranty will last you as little as 6 months. So keeping the cartridge clean can be more important than you may realise.
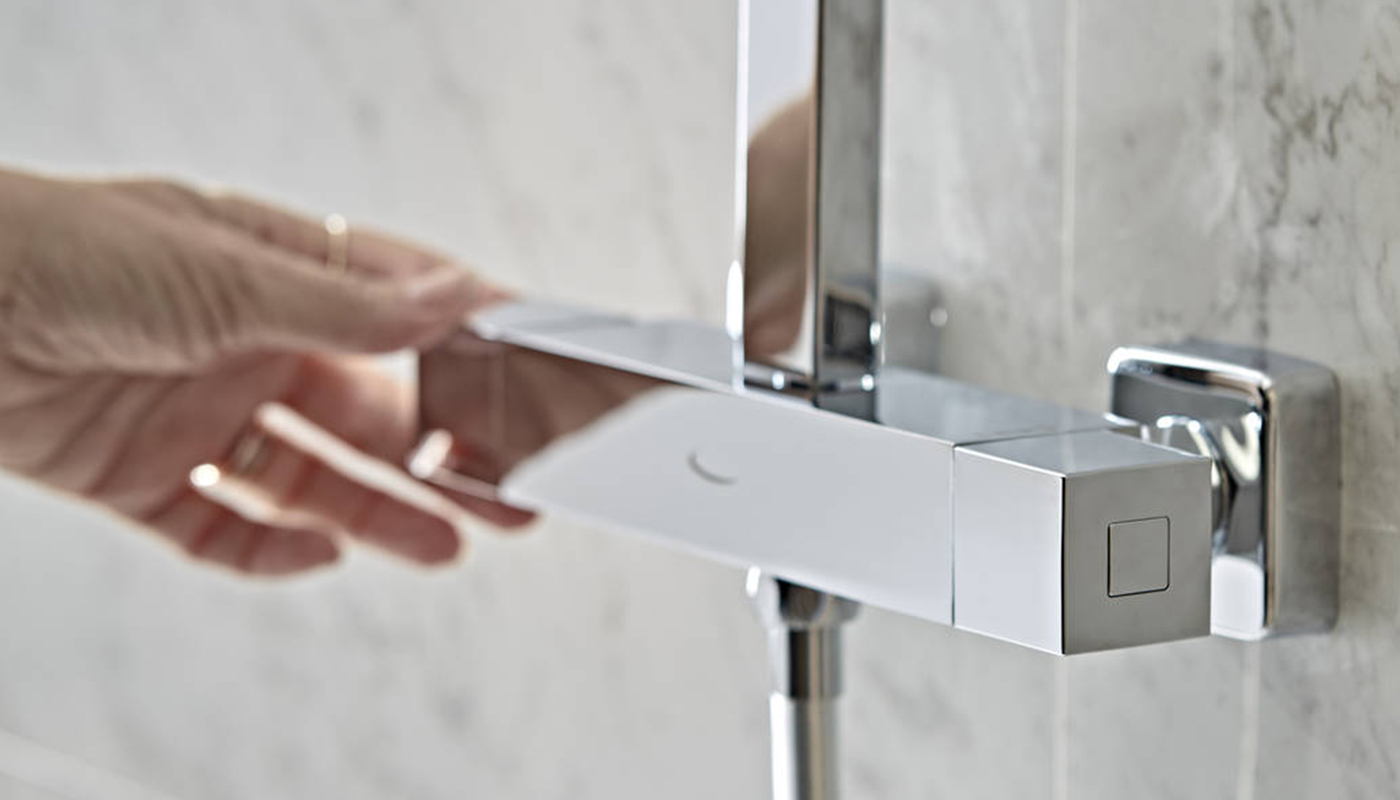
The method needed for this will be different depending on the type of shower valve you have. Exposed valve, the kind where you have a bar valve where you can see the shower, plumbing fixture and valve attached to the wall, or a concealed valve, where the unit is built into your shower enclosure wall and you just see the shower head, buttons and plate.
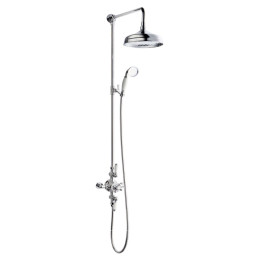
Exposed Bar Shower Valve
What you'll need to complete the task is nice and simple and more than likely items you'll already have at home. First you'll need a screwdriver and spanner to get access to the cartridge. Then for the cleaning you'll just need some hot water, washing up liquid, white vinegar, an old toothbrush and a soft cloth. You'll also need to turn off the water supply to your shower, if you're unsure how to do this speak to your plumber in advance.
Step 1 - Pop the end off the temperature side of your bar valve to expose the screw. Unscrew and remove the outer casing of the shower valve.
Step 2 - Carefully remove any internal washers obscuring the shower valve.
Step 3 - Using your spanner loosen the cartridge and remove from the shower valve.
Step 4 - Mix up a solution of 1:1 warm water and white vinegar. Dip in your toothbrush and use this to gently loosen any built up debris. Follow with the cloth and wipe away the loosened debris.
Step 5 - Add a couple of drops of washing up liquid to your mixture and drop the cartridge in. Leave in the solution for 10-15 mins. Rub over with the toothbrush and dry off with your cloth.
Step 6 - Pop the cartridge back into the valve and tighten with your spanner.
Step 7 - Replace shower valve temperature knob.
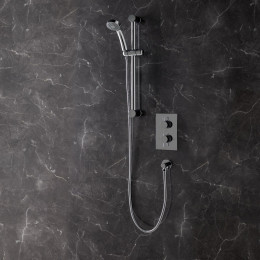
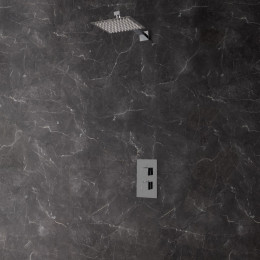
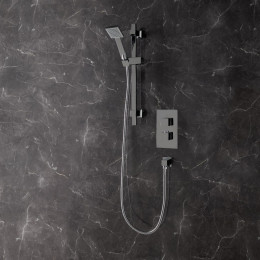
Concealed Shower Valve
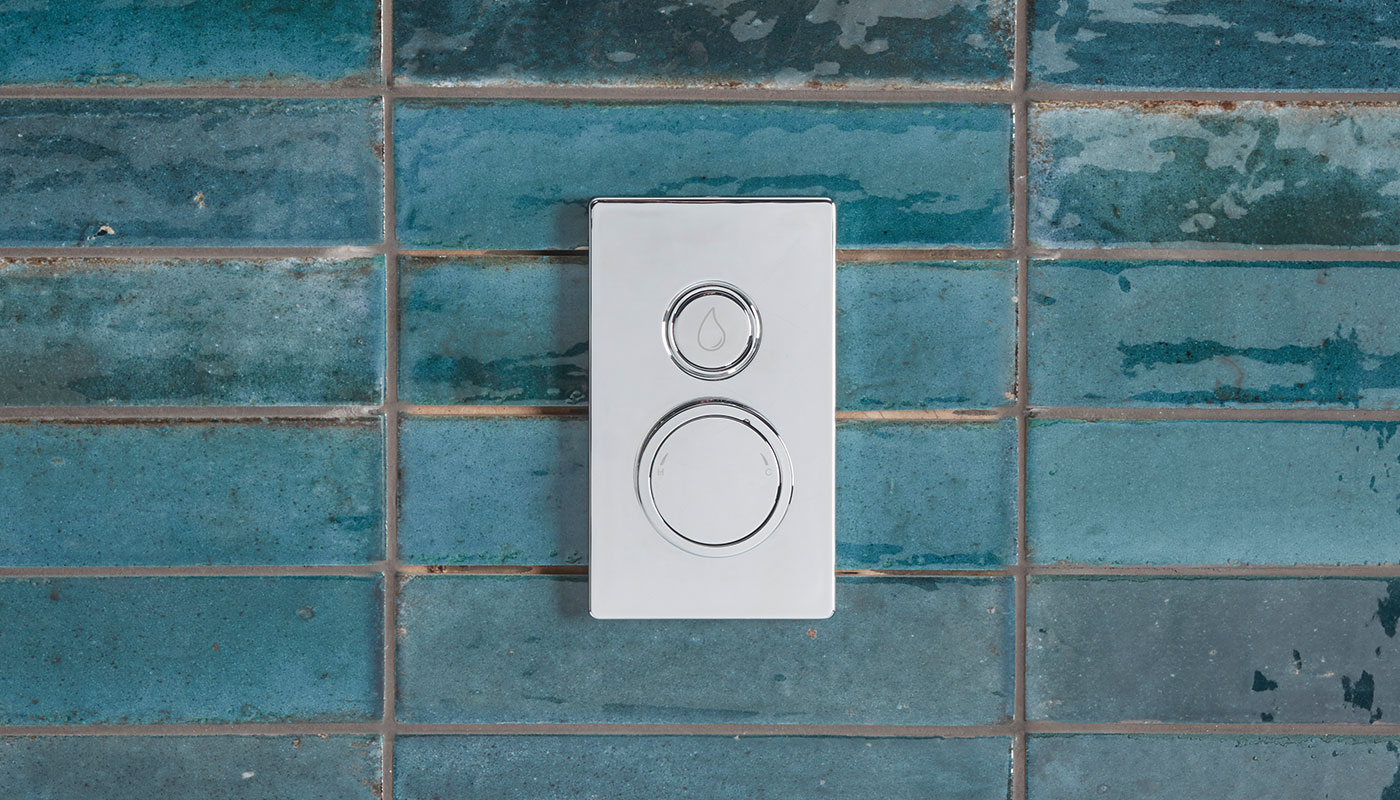
This will require all of the same things as an exposed shower plus an Allen key possibly.
The steps are pretty much the same as with an exposed shower valve, apart from having to expose the valve first!
Step 1 - Firstly, you'll need to remove the buttons on the shower valve. This is where you're Allen key may be required. However, its worth looking at your fitting guide to be sure.
Step 2 - Next, you'll need to remove the outer casing of your shower valve to get to the inner workings. You should be able to just pop this off with a flat screwdriver easily.
Step 3 - Follow steps 2-6 above.
Step 4 - Press the cover of the shower valve back onto the wall and lastly you'll want to pop the operational knobs back onto the shower.
You should find that doing this simple cleaning process every 3 months will inevitably lengthen the lifespan of your shower and keep the water temperature consistent. You should also find that if doing it often enough you can simply use a solution of soap and water.